Our 3 year old has been collecting Princess dresses for the past several months. She has acquired quite a few which means finding a place to store them was a must.
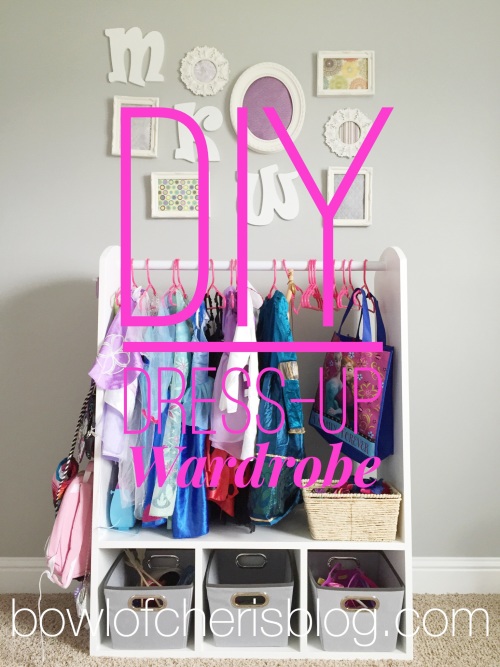
For Madelynn’s 3rd Birthday, I asked the crafty hubby to make a dress-up wardrobe for one of her gifts. We searched online for ideas on pinterest. So many people had great ideas. There was a mix of simple to extravagant. We decided to make it simple.
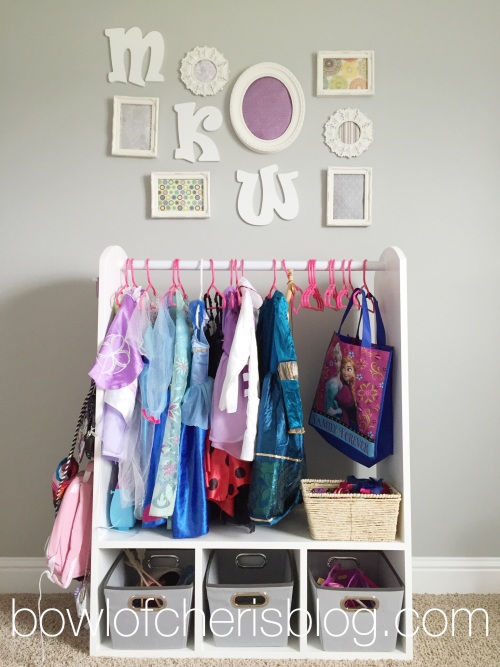
We stuck with traditional white paint so that it would match any décor she would have down the road.
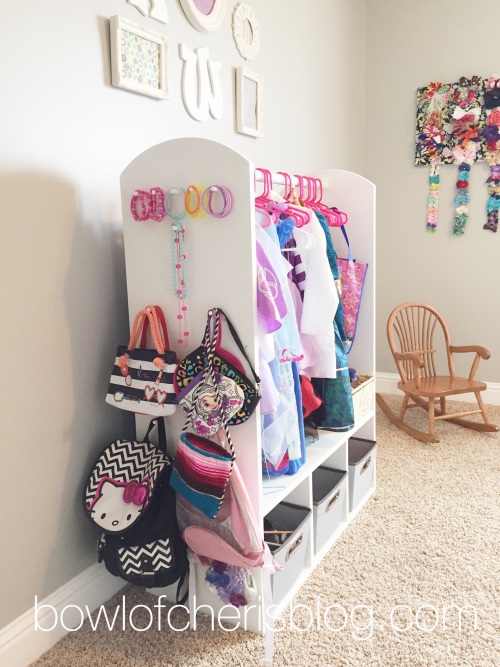
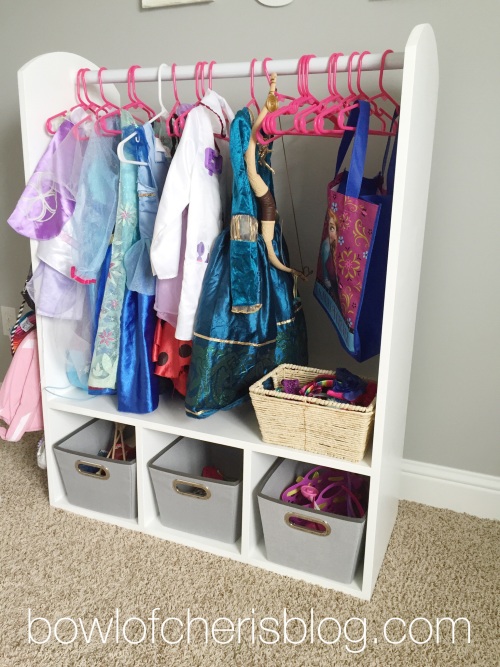
We made 3 slots for cubby holes for canvas organizers/baskets. On the left side he added pegs to hold necklaces, bracelets, and purses. On the right we left it blank to add a mirror for later.
ITEMS YOU WILL NEED:
MDF 4ftx8ft (3/4″thick)
2 side boards 48″x14.75″
seat, bottom, & back board 34.5″x14.75″
cubby dividers 11″x13.5
trim paint semi-gloss (we used white)
sponge paint roller
sponge brush
dowel rods for the pegs (painted white)
wood glue
wood filler
sand paper
18 gauge 1-1/4″ brad nails
metal closet rod (we used white and cut 34.5″ long)
3 baskets or canvas organizers that fit 11″X11″ (walmart)
Kid hangers (pink from walmart)
MDF, roller, sponge brush, paint, dowel rods, wood glue, brad nails, wood filler, sand paper and closet rod all came from Lowes
EQUIPMENT NEEDED:
table saw
metal cutting blade for the metal rod
brad nail gun
drill
drill bit same size of pegs and also the size of the metal rod
OK, TIME TO GET STARTED!
Cut boards to the sizes you need, we rounded the tops of the side boards. Start with the bottom piece and add each side piece to the bottom board, glue them, use a nail gun to nail the pieces together, add the 2 divider pieces. Glue and nail to the bottom. Add the back board and glue and nail it to the bottom and side board. Add the seat/top piece and glue and nail it as well.
Use wood filler to fill the places where the nails went. Drill holes for pegs and metal rod. Glue pegs and metal rods to their holes. We left 2.5″ between pegs for jewelry and 7.5″ across and 11″ down between pegs for purses.
Paint using the sponge roller. Use the sponge brush to paint around the pegs and wood filled areas. Will take 2-3 coats of paint.
Let it dry really well (we waited 3 days) otherwise items may stick. Add your organizers, hangers, costume, jewelry, purses,and mirror if you choose.
Hope you enjoy! Don’t forget to pin it on Pinterest.